A new roof goes on in a specific order, and skipping any phase can lead to leaks, rot, or a failed inspection. This guide walks you through every step so you know exactly what a professional installation looks like.
A professional roof installation follows a strict sequence of six phases, and each one must be done correctly before the next begins. Skipping or rushing any step, from tearing off old shingles to sealing the flashing, leads to leaks, rot, or a failed building inspection. This roof installation process guide breaks down every phase in plain language so you know what a quality job looks like before work ever starts on your home.
What Happens Before the First Shingle Goes On?
Before any roofing material touches your home, a contractor must pull the correct permit and complete a full inspection of the existing roof structure. In California, roofing work on a residential structure requires a permit in most jurisdictions, and the work must meet California’s Title 24 building energy standards for cool-roof reflectivity on many re-roofing projects.
The pre-installation inspection covers three things: the pitch of the roof (which determines what materials are allowed), the condition of the existing decking, and the state of the attic ventilation. Poor ventilation is one of the most overlooked factors in California roofing, and it can cut shingle life by 30 to 50 percent even on a brand-new installation.
Our crew identifies ventilation problems on roughly 4 out of every 10 re-roofing jobs we take on, most often on homes built before 1990 where ridge vents were never installed.
Phase 1: Tear-Off and Debris Removal
Tear-off is the removal of all existing roofing material down to the bare decking, and it is the phase that sets the quality of everything that follows. California building code generally limits asphalt shingle roofs to two layers. If a second layer already exists, both must come off before a new installation can begin.
A standard 2,000-square-foot roof produces between 2 and 4 tons of tear-off debris. A professional crew uses roofing jacks, flat bars, and a dedicated dumpster placed in the driveway to keep debris controlled and off the landscaping. Magnetic rollers sweep the yard for nails after the dumpster is loaded.
Tear-off on a typical single-story home takes four to eight hours with a full crew. Two-story homes or complex roof geometries with multiple valleys and hips can push that to a full day.
Phase 2: Decking Inspection and Repair
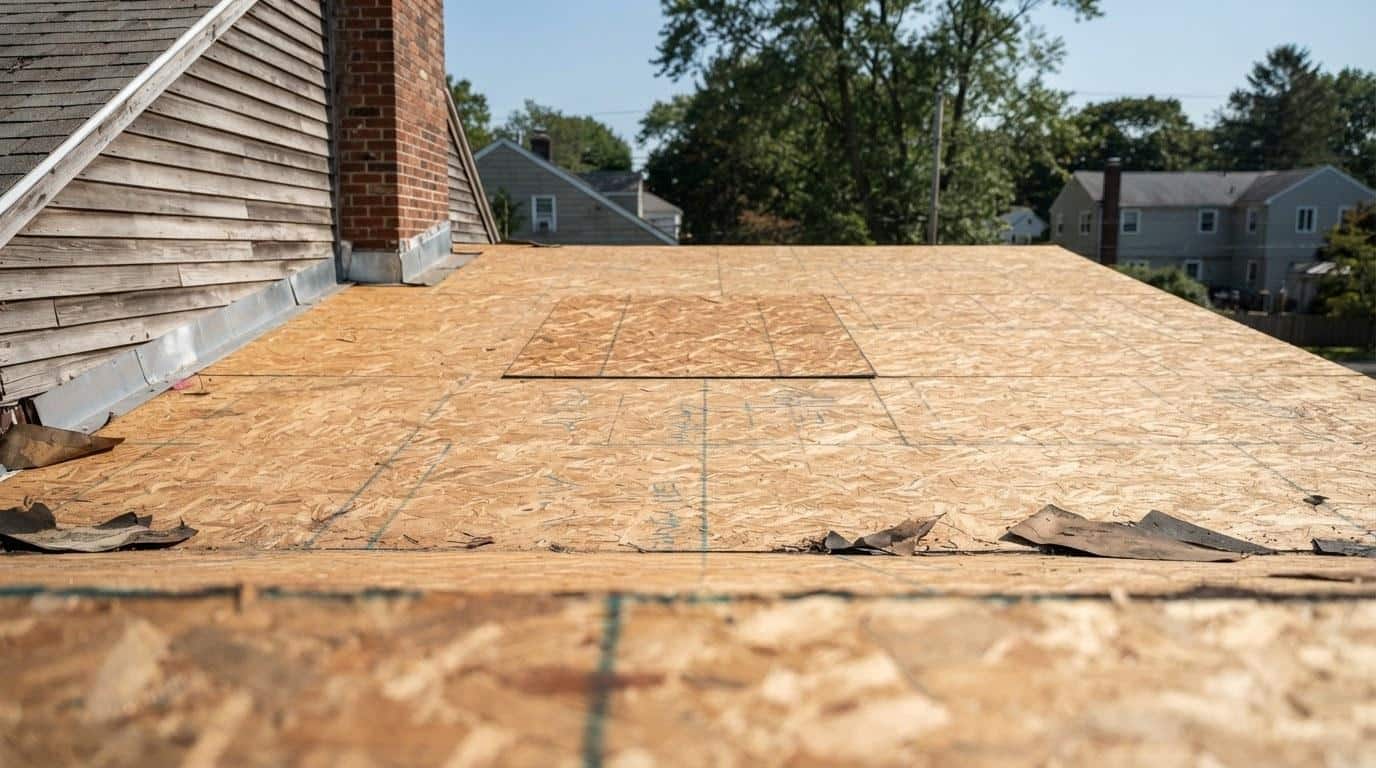
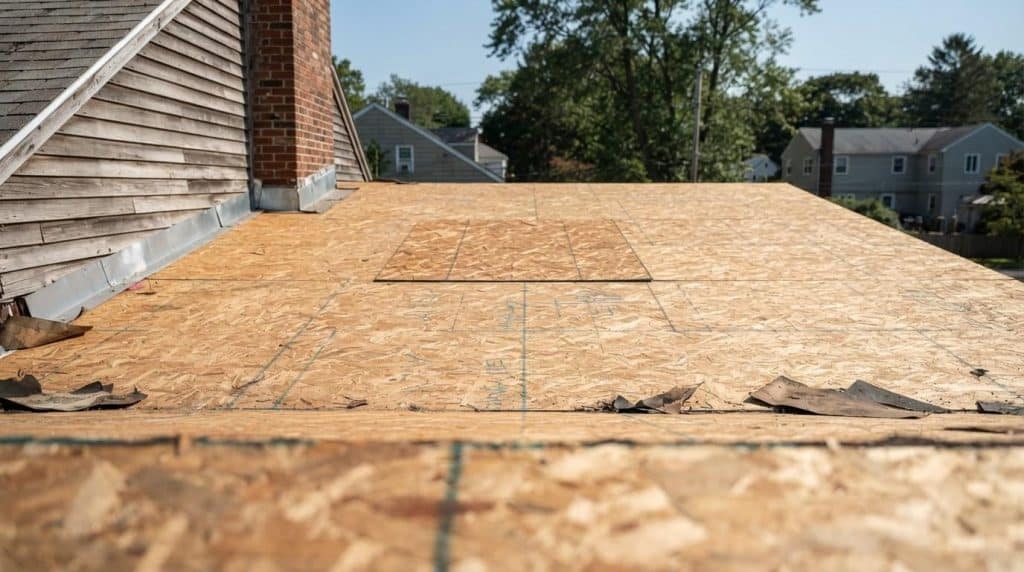
Once the old material is off, every square foot of the roof deck is inspected for soft spots, rot, delamination, and broken or missing sheathing panels. This is the most important quality checkpoint in the entire roof installation process guide because problems hidden under old shingles become visible only at this stage.
Most decking is 7/16-inch or 1/2-inch OSB (oriented strand board) or CDX plywood. Damaged sections are cut out and replaced with matching thickness panels, then fastened with ring-shank nails or screws at the correct spacing per the local building code. In high-wind zones across Southern California, the nailing pattern for sheathing is often specified at 6 inches on center at edges and 12 inches in the field.
| Decking Condition | What It Looks Like | Typical Action |
|---|---|---|
| Soft or spongy | Gives underfoot, dark staining | Cut out and replace panel |
| Delaminated plywood | Layers separating, bubbling surface | Replace full 4×8 sheet |
| Solid but dry | Firm, uniform color, no flex | Proceed to underlayment |
| Broken rafter below | Sagging section, visible dip in roofline | Structural repair before decking |
Decking repairs are typically billed per sheet, and replacing 5 to 10 sheets on an average re-roof is common. Replacing more than 25 percent of the deck signals a deeper moisture problem that should be traced to its source before new materials go on.
Phase 3: Underlayment Installation
Underlayment is the waterproof or water-resistant layer that goes directly over the decking and under the shingles, and it is the last line of defense if a shingle ever fails. There are three main types used in California: felt (15 lb or 30 lb), synthetic polymer sheets, and self-adhering ice-and-water shield membranes.
California’s Title 24 and local fire codes require Class A fire-rated underlayment on most residential re-roofing projects. Self-adhering membrane is required in specific zones, including the first 24 inches from the eave edge and in all valleys, regardless of climate zone.
- 15 lb felt: The lightest option, used on low-slope sections where a heavier material is not required. Tears more easily in wind and is not recommended for steep pitches above 8:12 without mechanical fastening.
- 30 lb felt: Heavier and more durable than 15 lb. A common choice for standard pitched roofs in mild climates.
- Synthetic underlayment: Lighter than felt at the same thickness, UV-resistant for up to 6 months of exposure, and slip-resistant for crew safety. The most common choice on re-roofs in Southern California as of 2024.
- Self-adhering membrane (ice-and-water shield): Fully adheres to the deck and seals around nails. Required at eaves, valleys, and penetrations. Adds roughly $0.50 to $1.00 per square foot to material cost.
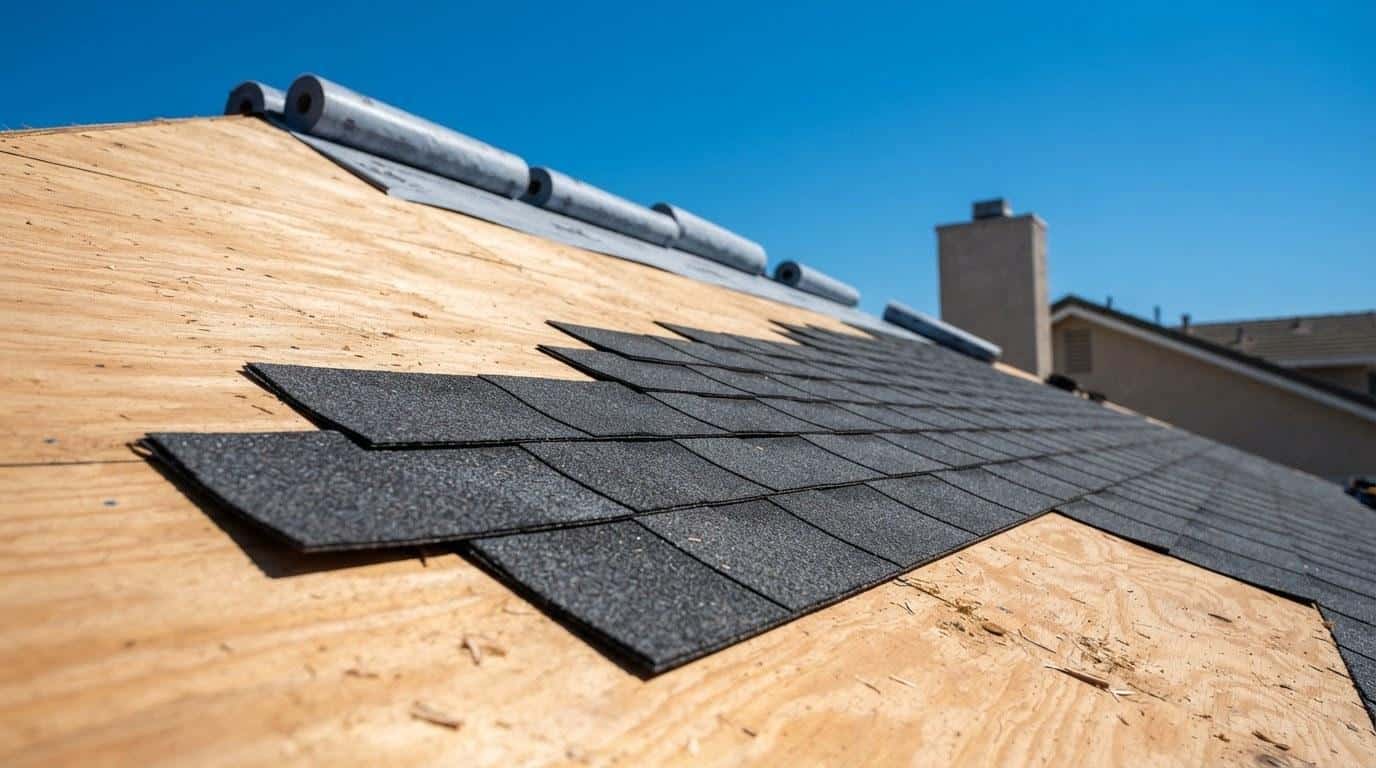
Underlayment is installed starting at the eave and worked upward in overlapping horizontal courses, with each course overlapping the one below by at least 2 inches. Valleys and hips get an extra layer before the field underlayment goes on.
Phase 4: Flashing Installation
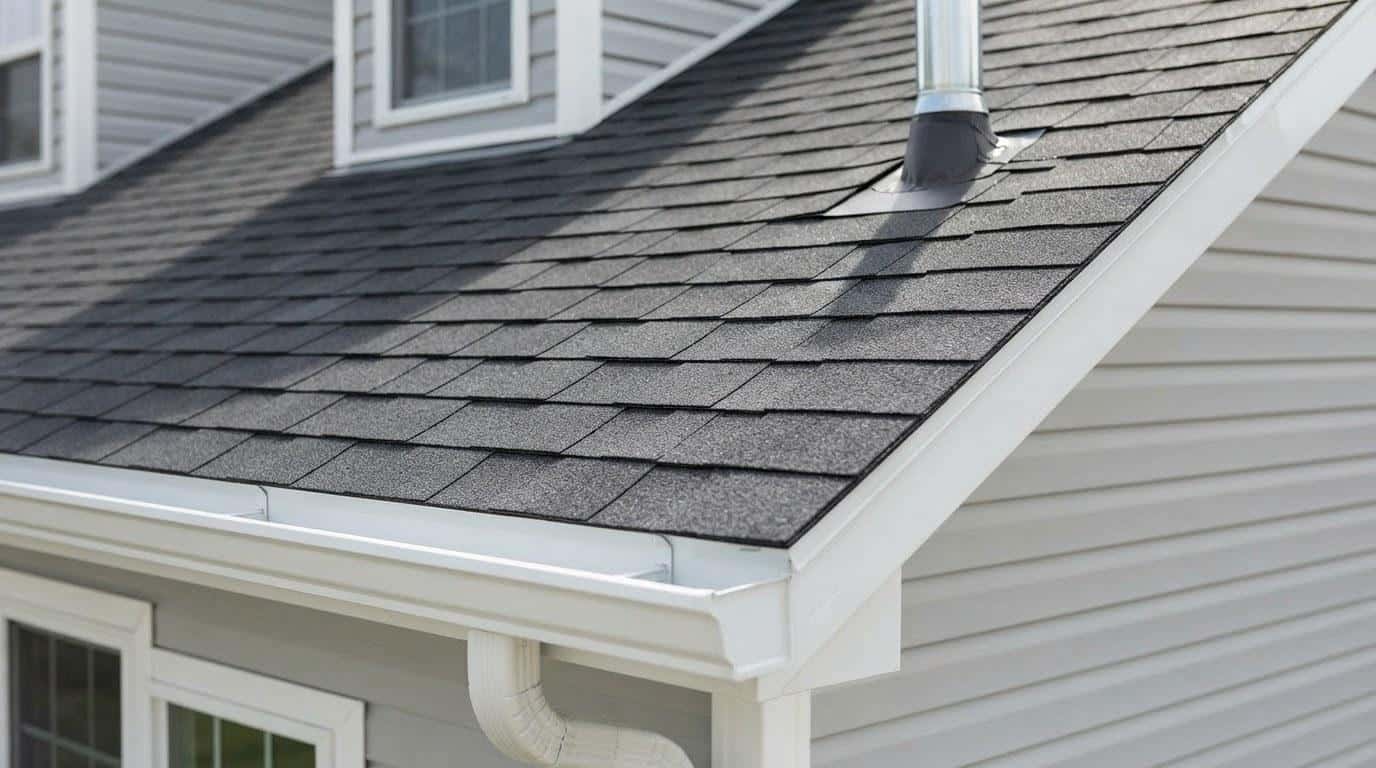
Flashing is the sheet metal that seals every joint where the roof meets a wall, chimney, vent pipe, or valley, and it is responsible for stopping the majority of roof leaks that develop over time. Most residential flashing is 26-gauge galvanized steel or aluminum, though copper is used on premium installations because it lasts 50 or more years without corrosion.
There are five types of flashing that appear on a typical residential roof:
- Step flashing: Individual L-shaped pieces woven between each course of shingles along a sidewall. Each piece overlaps the one below by at least 2 inches.
- Counter flashing: Embedded into mortar joints on a chimney and laps over the step flashing below. Prevents water from running behind the step flashing.
- Valley flashing: A continuous piece of metal or a W-shaped channel that runs the full length of a roof valley where two slopes meet.
- Drip edge: A metal strip along the eave and rake edges that directs water away from the fascia and into the gutter.
- Pipe boot flashing: A rubber or metal collar that seals around plumbing vent pipes. Rubber boots typically last 10 to 15 years and should be replaced at each re-roofing.
Flashing is one of the phases most often cut short on low-bid jobs. Reusing old step flashing or skipping drip edge saves a contractor an hour of labor but creates leak points that appear within two to three rainy seasons.
Reusing old step flashing or skipping drip edge saves a contractor an hour of labor but creates leak points that appear within two to three rainy seasons.
Phase 5: Shingle or Roofing Material Installation
Shingle installation begins at the eave with a starter strip and works upward in overlapping courses, with each shingle offset from the one below by at least 6 inches so no two vertical seams align. Most California homes use three-tab or architectural (laminated) asphalt shingles, though tile, metal, and flat-roof membranes are also common depending on roof pitch and local style.
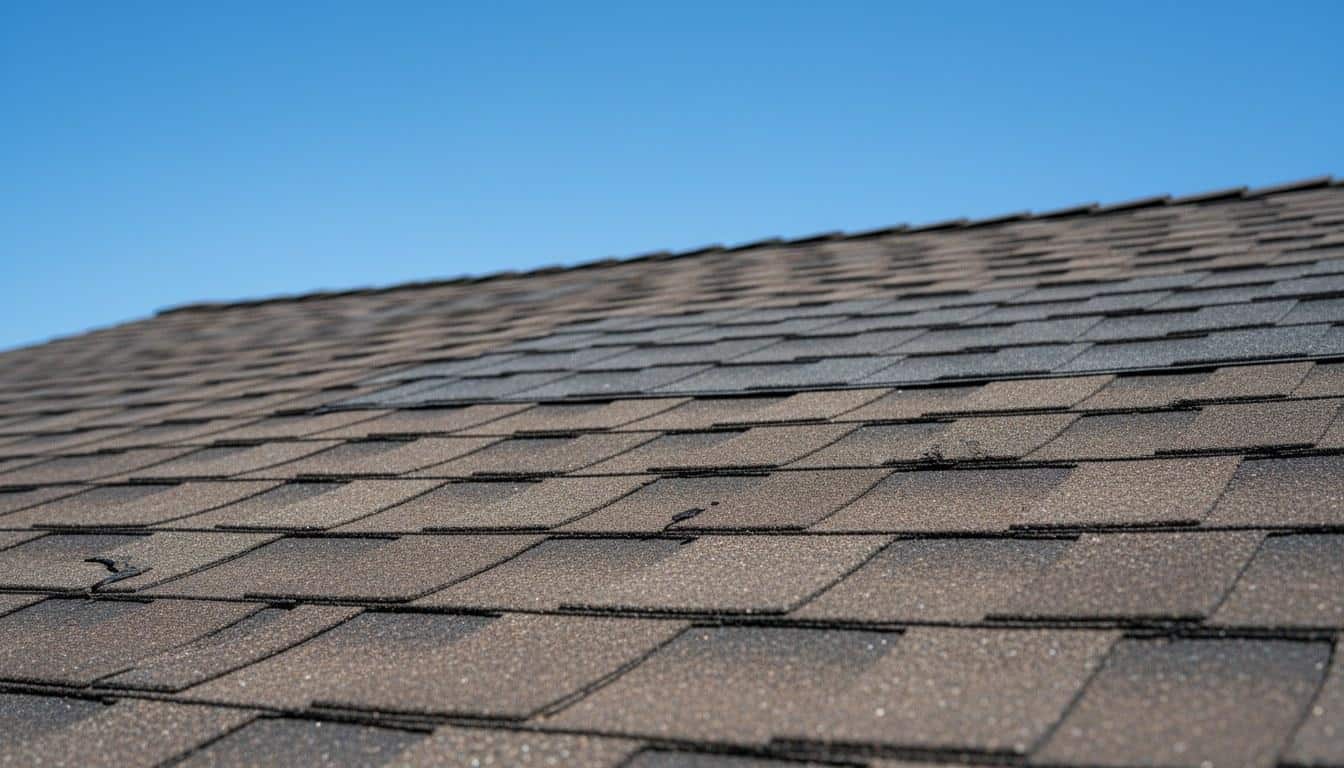
Architectural shingles are the dominant choice on re-roofs in Southern California. They carry a manufacturer warranty of 30 years on standard grades and 50 years on premium grades, and they achieve a Class A fire rating when installed over the correct underlayment. ENERGY STAR-rated shingles meet the solar reflectance thresholds that can reduce attic temperatures by 10 to 15 degrees Fahrenheit, which matters in the inland valleys of Southern California where summer temperatures regularly exceed 100 degrees.
Nailing pattern is critical and inspected by the building department. Most manufacturers require 4 nails per shingle in standard wind zones and 6 nails per shingle in high-wind zones. Nails placed too high (called a high nail) leave the shingle tab exposed and can cause blow-off in the first significant windstorm.
| Roofing Material | Typical Lifespan | Min. Roof Pitch | Fire Rating |
|---|---|---|---|
| 3-tab asphalt shingle | 20 to 25 years | 2:12 with special underlayment | Class A (with rated underlayment) |
| Architectural shingle | 30 to 50 years | 2:12 with special underlayment | Class A |
| Concrete tile | 40 to 50 years | 3:12 minimum | Class A |
| Metal standing seam | 40 to 70 years | 1:12 minimum | Class A |
| TPO membrane (flat) | 20 to 30 years | 0:12 to 2:12 | Class A |
Ridge caps are the final shingles installed, running along the peak of the roof. On architectural shingle roofs, hip-and-ridge cap shingles that match the field shingles are standard. Some manufacturers void their warranty if a generic cap is used instead of their branded product.
Phase 6: Final Inspection and Cleanup
Once all materials are installed, the job requires a final building inspection and a thorough site cleanup before the project is considered complete. The inspector checks nailing patterns, flashing details, underlayment laps, and ventilation before signing off. In California, work done by a contractor must be performed under a license issued by the California Contractors State License Board (CSLB); a valid license is your assurance that the contractor carries the required insurance and has passed a trade examination.
Cleanup includes removing the debris dumpster, doing a second magnetic sweep of the yard and driveway, inspecting the gutters for nails and granules, and walking the perimeter with the homeowner. A quality contractor will also document the completed work with photos and provide copies of the permit card, the manufacturer warranty registration, and the workmanship warranty in writing.
Total project timelines vary by size and complexity. A straightforward single-story re-roof on a 1,500 to 2,500 square foot home typically takes one full day for tear-off and installation, with a second morning for inspection and cleanup. Larger homes, complex hip roofs, or tile installations can run three to five days.
What Does a Roof Installation Cost in This Market?
In the Southern California regional market, a full asphalt shingle re-roof on a typical single-family home generally ranges from $8,000 to $20,000, depending on roof size, pitch, material grade, and the extent of decking repairs needed. Tile and metal roofs typically run higher, often between $15,000 and $40,000 or more for the same footprint.
The factors that move the price most significantly are:
- Roof size: Measured in roofing squares (one square equals 100 square feet). A 2,000 square foot home may have 22 to 30 squares of actual roof surface depending on pitch.
- Pitch: Roofs steeper than 7:12 require additional safety equipment and slower installation, adding 10 to 20 percent to labor cost.
- Number of layers to remove: A two-layer tear-off adds one to two hours of labor and an extra dumpster load.
- Decking repairs: Each sheet of replaced OSB or plywood typically adds $75 to $150 in material and labor.
- Material grade: Stepping from a standard 30-year architectural shingle to a 50-year premium shingle adds roughly $30 to $60 per square in material cost.
- Flashings and accessories: Copper flashing, new pipe boots, and ridge vent installation add cost but extend the life of the finished roof.
Homeowners who install qualifying cool-roof or ENERGY STAR products may be eligible for the Inflation Reduction Act federal tax credit, which as of 2025 covers 30 percent of the cost of certain energy-efficient roofing improvements up to the applicable annual cap. Always confirm eligibility with a tax professional before counting on the credit.
For an accurate number on your specific home, request a custom quote that includes a written scope of work, the permit cost, and a line-item breakdown of materials versus labor.
Ready to Start Your Roof Installation? Get Help from Hollywood Contractor Corp
A roof installation is one of the largest single investments a homeowner makes, and the quality of the work is only visible years later when problems either appear or don’t. Choosing a contractor who follows every phase in the correct order, pulls the required permits, and documents the work protects that investment for decades.
Hollywood Contractor Corp handles roof installation and replacement for homeowners across Southern California. Every project is performed under a license issued by the California Contractors State License Board (CSLB), and every job includes a written scope of work before a single nail goes in. Whether you need a straightforward asphalt shingle re-roof or a full structural assessment before new materials go on, the team is ready to walk you through the process from permit to final inspection.
Schedule your roof assessment today. Call Hollywood Contractor Corp at (818) 264-1955 to get a written quote and learn what your specific roof needs.
Explore our full range of General Contracting services.
Frequently Asked Questions
How long does a roof installation take from start to finish?
Most single-story homes with asphalt shingles are completed in one to two days, including tear-off, decking repairs, underlayment, flashing, and shingle installation. Larger homes, steep pitches, or tile roofs can take three to five days. The building inspection is usually scheduled the following business day after installation is complete.
Do I need a permit to replace my roof in California?
Yes, in most California cities and counties a permit is required for a full roof replacement. The permit triggers a building inspection that verifies the nailing pattern, underlayment, and flashing meet code. Work done without a permit can create problems when you sell the home and may void the manufacturer warranty on the shingles.
How do I know if my roof deck needs to be replaced during a re-roof?
Your contractor will identify soft spots, spongy areas, and visible rot or delamination once the old shingles are removed. You can also look for sagging sections in the roofline from the ground before work starts. Replacing damaged decking during a re-roof is always cheaper than addressing the resulting water damage later.
What is the difference between underlayment and flashing on a roof?
Underlayment is a sheet material that covers the entire roof deck and acts as a secondary water barrier under the shingles. Flashing is sheet metal installed at specific joints, such as where the roof meets a chimney, wall, or valley, to seal those high-risk areas. Both are required for a complete installation, and neither replaces the other.
Can I get a tax credit for a new roof in California?
Homeowners who install qualifying ENERGY STAR-rated cool-roof products may be eligible for the Inflation Reduction Act federal tax credit, which covers 30 percent of the cost of eligible energy-efficient improvements as of 2025. Standard asphalt shingles that do not meet the solar reflectance thresholds generally do not qualify. Always confirm eligibility with a licensed tax professional before assuming the credit applies to your project.